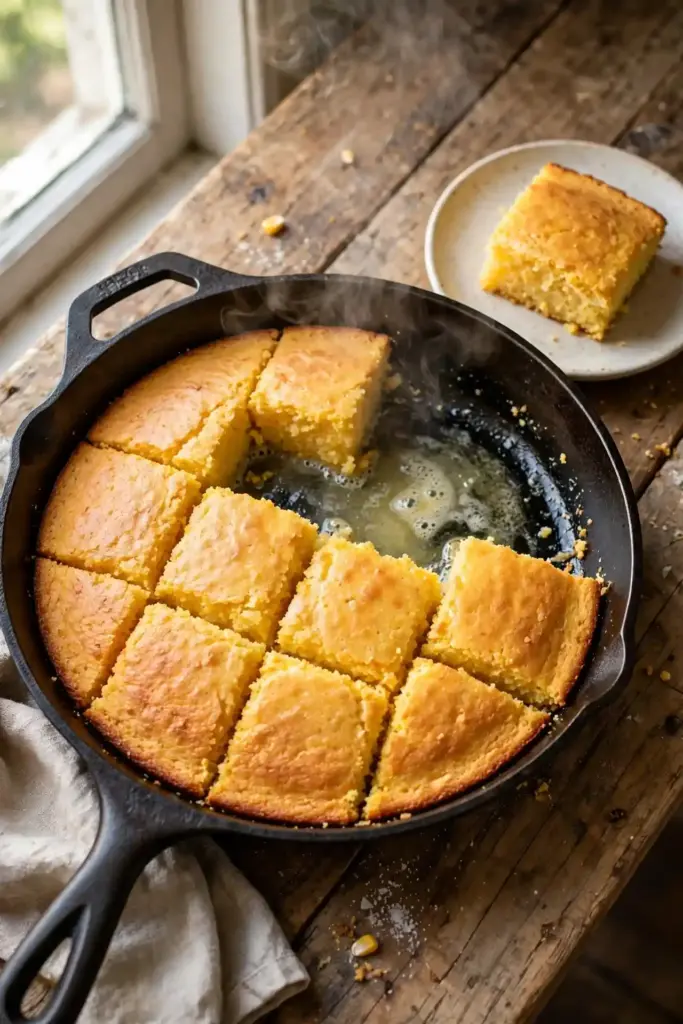
Good cornbread has two textures at once: a crackling, browned edge where the batter meets hot metal, and a soft, slightly custardy center that holds together when you cut it. You get both by pouring the batter into a cast iron skillet that’s already screaming hot from the oven. The edges start crisping the second they land. The middle bakes gently from there.
Table of Contents
This version leans savory, not cake. There’s enough sugar to round out the corn flavor, not enough to turn it into dessert.
A basic cornbread recipe like this one combines cornmeal, flour, buttermilk, eggs, and melted butter, then bakes in a hot skillet at 425°F for 20 to 22 minutes, until the top is golden and a toothpick comes out clean.
Why You’ll Love This Cornbread
- The skillet gives you a genuinely crisp bottom crust, not just a browned top
- Buttermilk and real butter keep the crumb moist instead of dry and sandy
- Lightly sweet, not cake-sweet, so it still tastes like corn
- One bowl for the wet ingredients, one for the dry, ready in about 35 minutes start to finish
Ingredients
- 1 cup (140g) yellow cornmeal, medium grind — the main flavor and texture. Medium grind gives a bit of bite without turning gritty. Fine-ground cornmeal works too, but the crumb will be smoother and slightly less textured.
- 1 cup (125g) all-purpose flour — gives the crumb enough structure to hold together when sliced, since cornmeal alone has no gluten to speak of.
- 1/4 cup (50g) granulated sugar — enough to balance the corn’s natural bitterness without making this taste like a muffin. Cut it to 2 tablespoons for a more savory loaf, or skip it if you’re serving this alongside something already sweet.
- 1 tablespoon baking powder — the main lift. Check that it’s fresh; flat cornbread is almost always old baking powder.
- 1/2 teaspoon baking soda — reacts with the buttermilk’s acidity for extra rise and a slightly more tender crumb.
- 3/4 teaspoon fine salt
- 1 cup (240ml) buttermilk — the acidity tenderizes the crumb and keeps it moist longer than regular milk would. No buttermilk on hand? Stir 1 tablespoon lemon juice or white vinegar into 1 cup regular milk and let it sit 5 minutes.
- 2 large eggs — bind the batter and add richness.
- 1/3 cup (75g) unsalted butter, melted, plus 1 tablespoon for the skillet — melted butter mixed into the batter for flavor and moisture, plus a separate pat to coat the hot skillet for that crisp crust.
Recipe Timing
- Prep time: 10 minutes
- Cook time: 22 minutes
- Rest time: 5 minutes
- Total time: 37 minutes
- Servings: 9 squares
- Difficulty: Easy
- Cuisine: American, Southern-style
- Course: Side dish
Substitutions
- Buttermilk → milk plus acid. Whole milk with a tablespoon of lemon juice or vinegar, rested 5 minutes, gets you most of the way there. The texture is a touch less tender than real buttermilk, but it works.
- Butter → neutral oil. Swapping the melted butter in the batter for vegetable or canola oil makes a slightly denser, less rich crumb. Keep the butter for greasing the skillet if you can, since it browns and adds flavor that oil doesn’t.
- All-purpose flour → 1:1 gluten-free baking blend. This works reasonably well since cornmeal already carries most of the structure. Expect a slightly more crumbly result.
- Sugar amount. More sugar (up to 1/2 cup) moves this toward a sweeter, more cake-like cornbread. Less sugar or none moves it toward a purely savory, more traditional Southern-style loaf. Neither is wrong, but they’re genuinely different breads, so pick based on what you’re serving it with.
Allergen and Dietary Disclosure
This recipe contains eggs, dairy (buttermilk and butter), and wheat/gluten (all-purpose flour).
- Eggs: no reliable one-to-one swap for the texture here. A flax egg (1 tablespoon ground flaxseed plus 3 tablespoons water per egg) will work in a pinch but the crumb turns denser and slightly gummy.
- Dairy: unsweetened plant milk plus 1 tablespoon lemon juice can stand in for the buttermilk, and a dairy-free butter alternative can replace the butter.
- Gluten: use a certified gluten-free 1:1 baking flour blend in place of the all-purpose flour, and check that your cornmeal is labeled gluten-free, since cross-contamination during milling is common.
Cross-contamination and brand formulations vary. If you or someone you’re feeding has a food allergy, check ingredient labels yourself and use your own judgment. This recipe is not being represented as safe for any specific allergy.
Equipment
A 10-inch cast iron skillet genuinely changes the outcome here. Preheated empty in the oven, it gives the batter an immediate sear on contact, which is where the crisp bottom and edges come from. Without it, in a regular cake pan or baking dish, you’ll still get good cornbread, but the crust stays soft rather than crackling, and the sides won’t brown the same way. A well-seasoned 10-inch pan is the size this recipe is built around; a smaller skillet will make it noticeably thicker and may need a few extra minutes in the oven.
Step-by-Step Instructions
- Place a 10-inch cast iron skillet in the oven and preheat both to 425°F (220°C). Let the empty skillet heat for at least 10 minutes once the oven reaches temperature. It’s hot enough when a flicked drop of water sizzles and evaporates on contact.
- In a large bowl, whisk together the cornmeal, flour, sugar, baking powder, baking soda, and salt until evenly combined.
- In a separate bowl, whisk the buttermilk, eggs, and melted butter together until smooth. Wash your hands and any surfaces that touched raw egg before moving on, and keep the mixture out of the temperature danger zone (above 40°F) for longer than necessary.
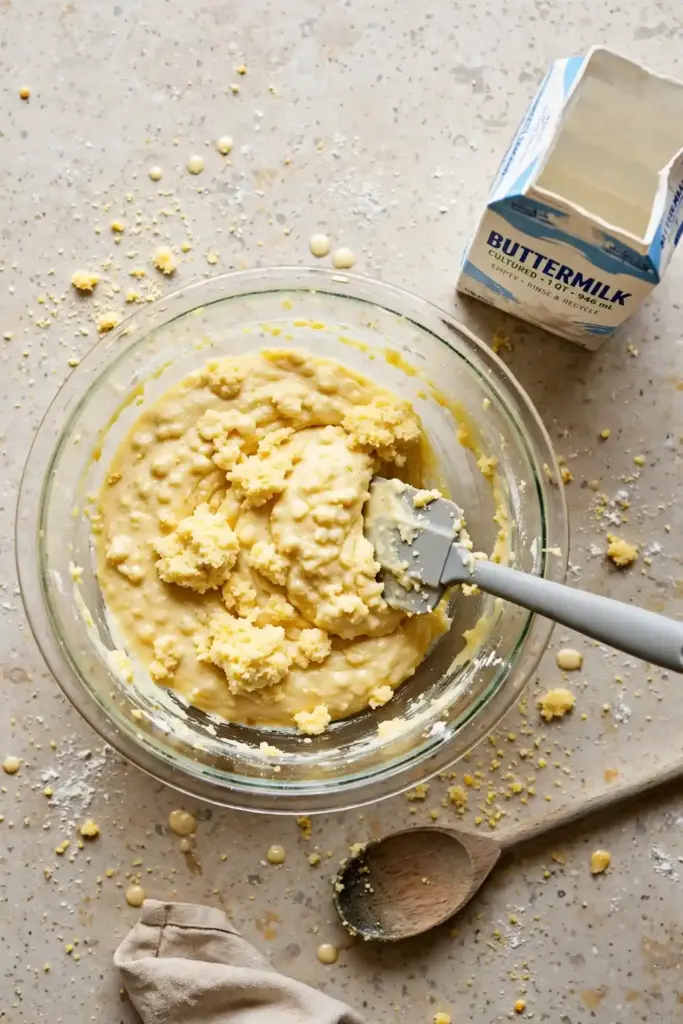
- Pour the wet mixture into the dry ingredients. Stir with a spatula just until no dry streaks remain, about 10 to 15 strokes. A few small lumps are fine. Overmixing develops the flour’s gluten and works against the tender crumb you’re after, so stop as soon as it’s combined.
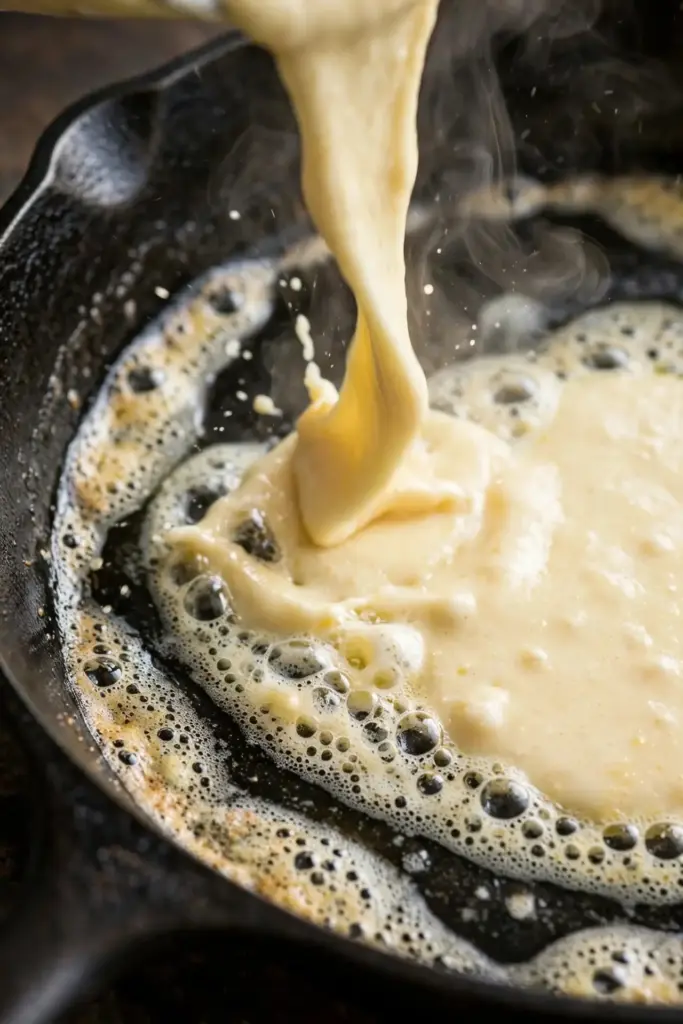
- Carefully remove the hot skillet from the oven. Add the tablespoon of butter and swirl to coat the bottom and sides; it should sizzle and foam almost immediately. Pour in the batter, which should sizzle audibly where it hits the pan.
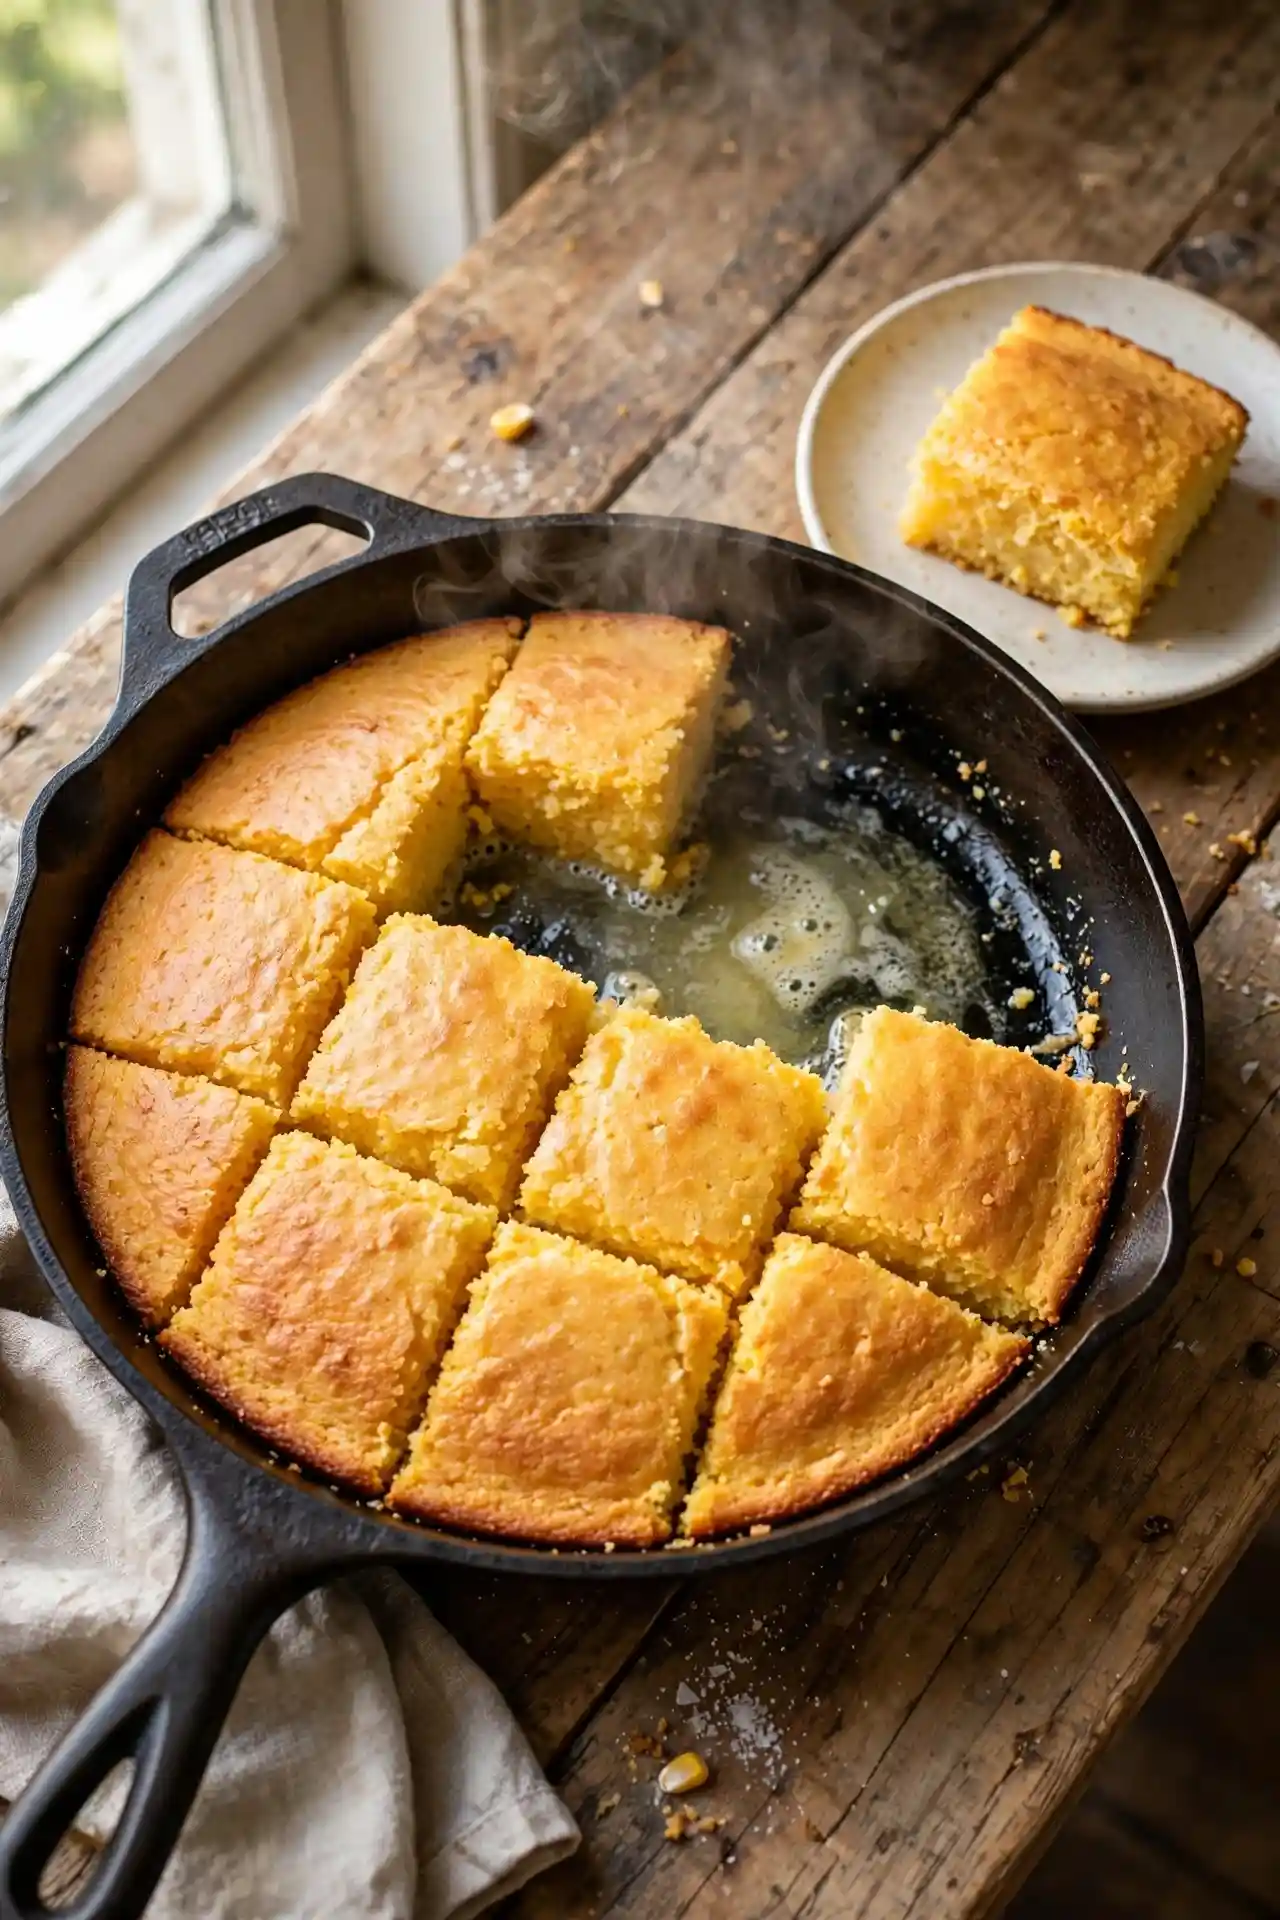
- Return the skillet to the oven and bake for 20 to 22 minutes, until the top is golden brown, the edges have pulled slightly away from the pan, and a toothpick inserted in the center comes out clean or with a few dry crumbs attached.
- Let the cornbread rest in the skillet for 5 minutes before slicing. This short rest lets the crumb finish setting, which is what keeps the squares from crumbling apart when you cut them.
Key Tips
- Preheat the skillet dry, then add the butter last. Adding butter too early and letting it sit in a slowly heating pan means it browns unevenly instead of sizzling on contact with the batter.
- Stop mixing as soon as the streaks disappear. A lumpy batter bakes into a tender loaf. A smooth, fully worked batter bakes into a tougher, sometimes crumblier one.
- Don’t skip the 5-minute rest. Cutting into cornbread straight from the oven is the single easiest way to end up with a plate of crumbles instead of clean squares.
- Check for doneness by feel, not just color. The top can look golden a couple of minutes before the center is actually set, so use the toothpick test rather than relying on the color alone.
Common Mistakes and Troubleshooting
- Cornbread came out dry and crumbly. This is almost always overbaking. Start checking at the 20-minute mark rather than waiting for the full 22, and pull it as soon as the toothpick comes out clean; a couple of extra minutes in a hot skillet dries it out fast.
- It fell apart when sliced. Usually means it was cut before the 5-minute rest, or the flour-to-cornmeal ratio was thrown off by loosely packed measuring cups. Spoon the cornmeal and flour into the measuring cup and level it off rather than scooping directly from the bag.
- No crisp crust on the bottom. The skillet wasn’t hot enough when the batter went in. If you didn’t hear a sizzle when you poured it, the pan needed more preheating time.
- Batter tastes flat or didn’t rise much. Check the date on your baking powder. It loses potency faster than most people expect, especially once opened.
Variations
- Jalapeño cheddar cornbread: fold in 1/2 cup shredded sharp cheddar and 1 to 2 tablespoons finely diced jalapeño (seeds removed for less heat) after mixing the batter.
- Honey butter cornbread: swap the granulated sugar for 3 tablespoons honey, added to the wet ingredients, and serve with a whipped honey butter on the side.
- Fresh corn cornbread: stir in 3/4 cup fresh or thawed frozen corn kernels for pockets of sweetness and a bit of extra texture.
Serving Suggestions
- Alongside a bowl of chili, to soak up the broth
- With a plate of Southern-style braised greens and a drizzle of pot liquor
- Next to fried or roasted chicken as the starch
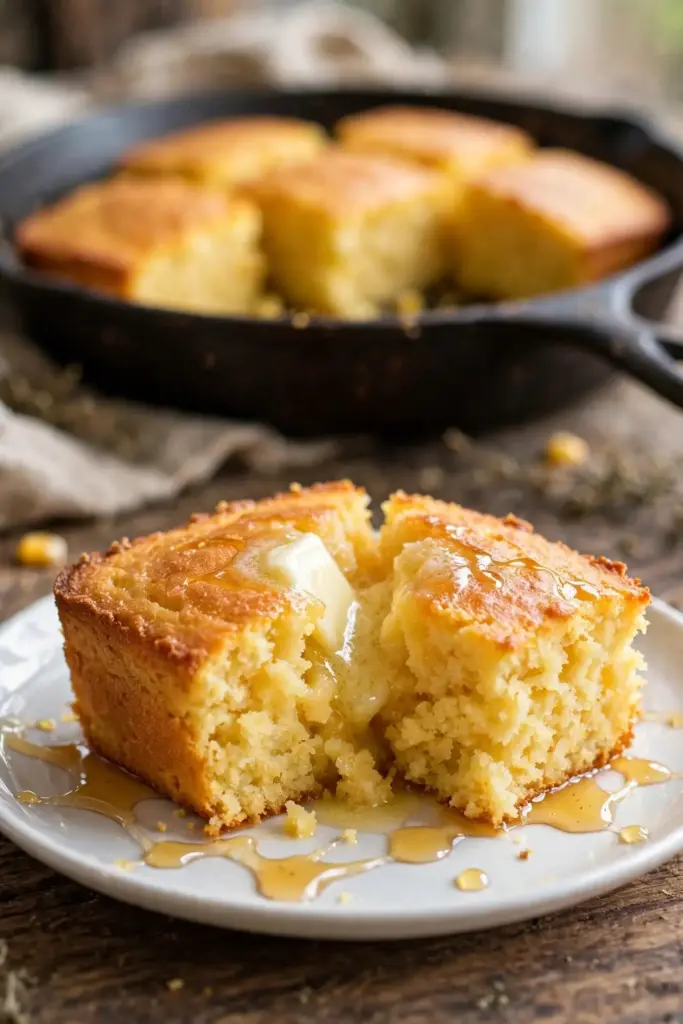
- Split open warm with honey butter
- Crumbled into stuffing the next day if you have leftovers
Storage, Reheating, and Freezing
- Storage: cover the skillet or transfer squares to an airtight container and keep at room temperature for up to 2 days, or refrigerate for up to a week.
- Reheating: warm squares in a 300°F oven for about 8 minutes to bring back some crispness at the edges. A microwave works in a pinch but leaves it softer throughout.
- Freezing: wrap individual squares tightly in plastic wrap, then foil, and freeze for up to 3 months. Thaw at room temperature before reheating.
- Make-ahead: the dry ingredients can be measured and mixed a day ahead and stored in a covered bowl. Mix in the wet ingredients right before baking, since the baking powder starts losing lift once it’s wet.
Nutrition Information
Per serving (1 of 9 squares): 210 calories, 5g protein, 27g carbohydrates, 9g fat, 1g fiber, 7g sugar, 340mg sodium.
These are estimates calculated from typical ingredient values. Actual numbers will vary with the specific brands, cuts, and portion sizes you use. If you’re tracking intake closely, calculate the nutrition from your exact ingredients rather than relying on this estimate.
Frequently Asked Questions
Why did my cornbread turn out dry and crumbly? Overbaking is the most common cause. Once the top browns and a toothpick comes out clean, the cornbread is done, and every extra minute in a hot skillet pulls more moisture out. Cutting it before the 5-minute rest is the second most common cause.
Can I make cornbread without buttermilk? Yes. Stir 1 tablespoon lemon juice or white vinegar into 1 cup regular milk and let it sit for 5 minutes before using it in place of the buttermilk. The rise and moisture will be very close, though slightly less tender than the real thing.
Should cornbread be sweet or savory? Both are legitimate, and it’s mostly regional. This recipe sits closer to the savory, Southern-style end with just enough sugar to round out the corn flavor. If you prefer a sweeter, more cake-like version, increase the sugar to 1/2 cup.
Do I need a cast iron skillet to make this? No, but it makes a real difference. A cake pan or baking dish will still produce good cornbread with a soft crust. The crisp, browned bottom and edges specifically come from pouring batter into an already hot skillet.
Can I freeze cornbread? Yes. Wrap individual squares well and freeze for up to 3 months. Thaw at room temperature, then reheat in the oven to bring back some texture.
Can I mix the batter ahead of time and bake it later? Mix the dry ingredients ahead if you want, but combine everything and bake within a few minutes of adding the wet ingredients. Baking powder starts losing its lift as soon as it gets wet.
Conclusion
The two things that actually make cornbread good are a hot skillet and restraint with the mixing spoon. Everything else in this recipe is a standard quick-bread ratio. Get the skillet properly hot before the batter goes in, stop stirring the moment the streaks disappear, and let it rest those 5 minutes before you cut into it. That’s what separates a cornbread recipe that falls apart on the plate from one that holds a clean square and still tastes like corn all the way through.
Buttermilk Cornbread
Ingredients
Method
- Preheat oven and an empty 10-inch cast iron skillet together to 425°F (220°C); let the skillet heat at least 10 minutes once the oven is up to temperature, until a drop of water sizzles on contact.
- Whisk cornmeal, flour, sugar, baking powder, baking soda, and salt in a large bowl until combined.
- Whisk buttermilk, eggs, and melted butter in a separate bowl until smooth.
- Pour wet ingredients into dry and stir just until no dry streaks remain, about 10 to 15 strokes; a few small lumps are fine.
- Remove the hot skillet from the oven, swirl in the remaining tablespoon of butter until it sizzles, then pour in the batter, which should sizzle on contact.
- Bake 20 to 22 minutes, until golden on top, the edges pull slightly from the pan, and a toothpick inserted in the center comes out clean.
- Rest in the skillet 5 minutes before slicing into 9 squares.